Showing posts with label canvas projects. Show all posts

Wednesday, January 26, 2011

Totebag Makeover

Hi!

Have you ever gotten a promotional tote bag? While it's a nice gesture and it's nice to support a local business, after a while you're just over it and you don't want to be a walking billboard.

I've had two of these bags hanging around for a long time. I decided to just make them over with a little fabric so I could use them again.

The first is from the University of Minnesota Duluth Library (Go Bulldogs!) UMD is my alma mater and I worked there for years. But I think it's about time to let go.

So, I just added some decorative fabric, a small pocket and a frayed flower.


The second bag was from a local bookstore. This time I added coordinating fabrics in stripes and a flower pin I made.


Voila! Two new tote bags :)

I'm linking up to


Thanks for stopping by!

Saturday, May 22, 2010

Drop Cloth Window Coverings

Hi!

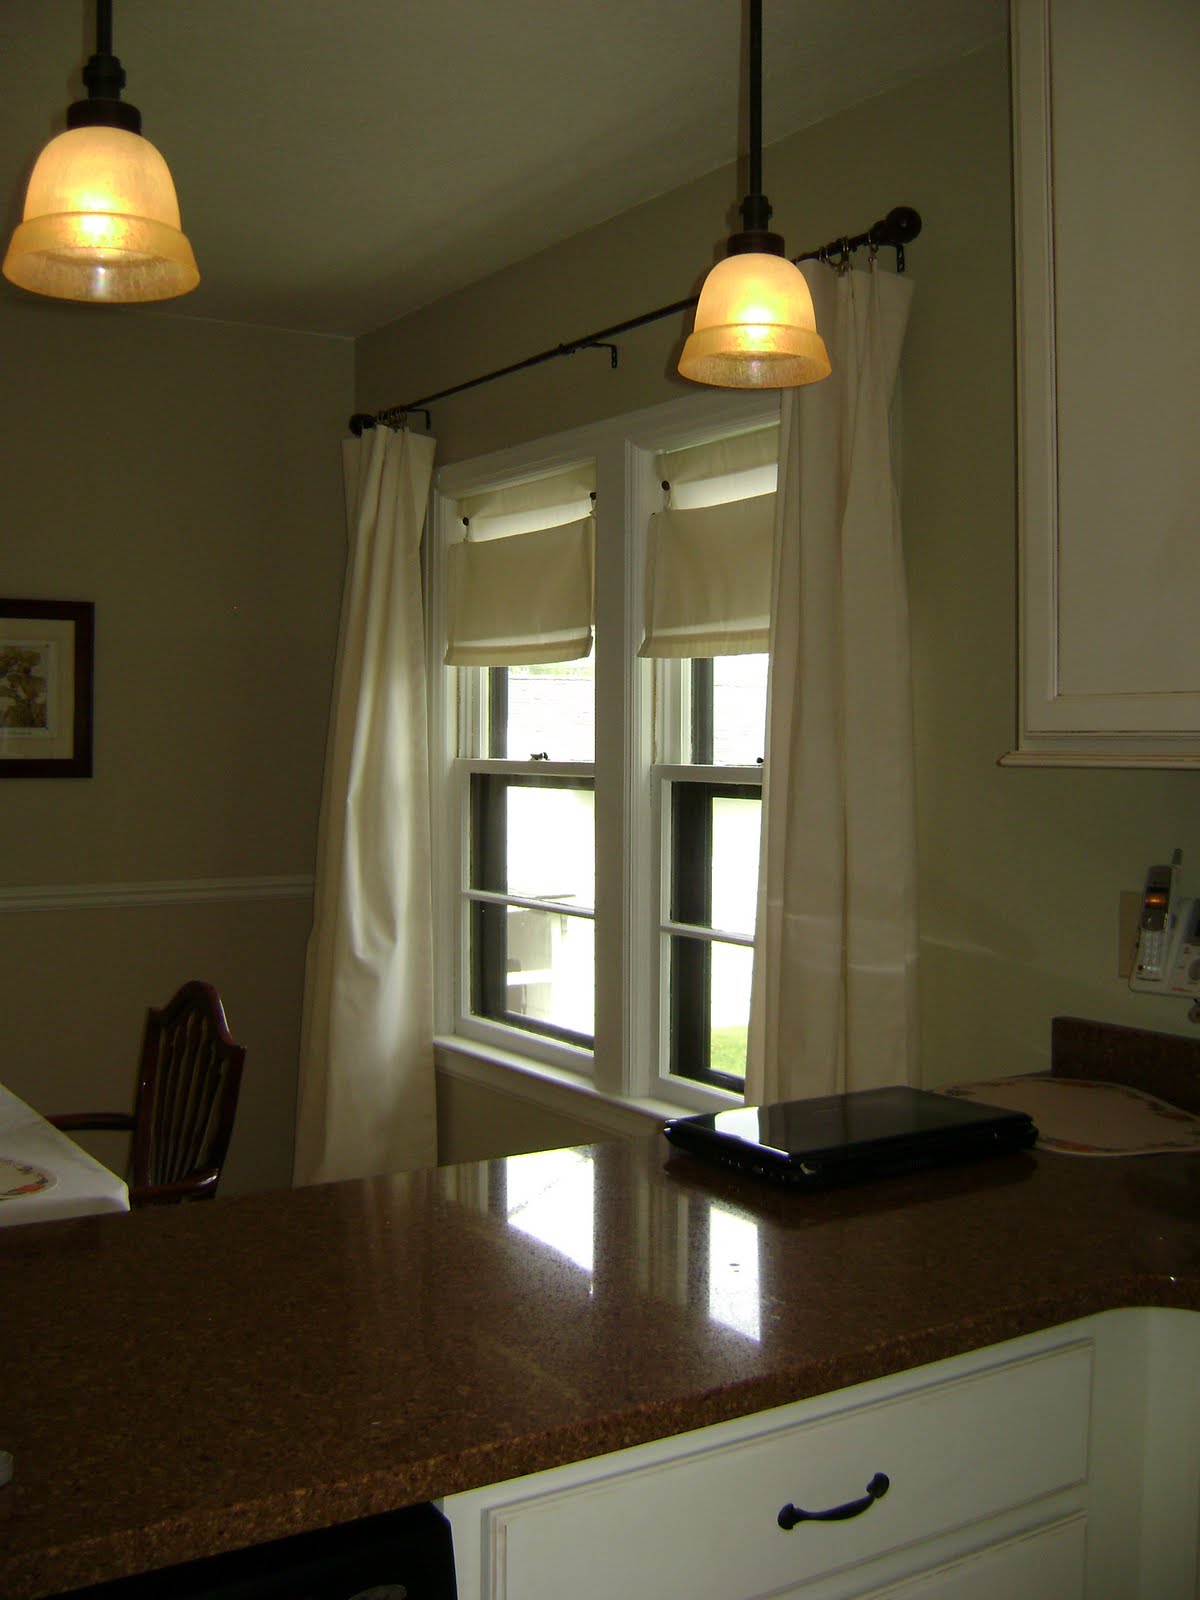
I love to change out my draperies for the seasons. Oftentimes, I just move them from one room to another just to get a fresh look. I decided I wanted something light and airy for spring and summer. But, I didn't want to buy anything new and I didn't have anything in my stash that would work. Then I remembered that I had seen canvas drop cloths used on some other blogs. My husband had three drop cloths still in their packages in our basement. It was fate!

Here they are (sorry for the poor picture quality - it is quite cloudy here today):


They are paired with canvas faux roman blinds that I made several years ago. The blinds can be lifted up and buttoned at different levels. I saw some of these on the Martha Stewart blog. Martha's had button holes, though, and I don't do button holes. So, I just made loops instead.

This is how they look when they're down:

Then I just put the bottom loop through the top loop and put the top loop over the button


They were very inexpensive and easy to make. Being as my home was built in 1939, the window sizes are not the dimensions of today's standards and most blinds would have to be custom ordered. So, this worked out great. They're neutral enough that they go with whatever draperies I decide to use.

Here's another photo I thought was silly, Bubba needed a chair at the window so he could watch my husband mowing the lawn :)

Linking up to:

Join  us Saturdays at tatertotsandjello.com for the weekend wrap up party!

Funky Junk's Saturday Nite Special


giveaways

UndertheTableandDreaming

Thanks for stopping by!

Wednesday, April 28, 2010

Drop Cloth Slipcover

Hi!

Just as I made the drop cloth draperies for the dining area to help lighten up the mood for spring and summer, I decided I needed to make a change in my living room.

This is how it looked before. Please take note of silliness: Our dog has a little "recliner" right next to my husbands :)


The colors were too dark for this time of year. So, I changed out the draperies (for some that had been in the master bedroom...). That helped a lot. But, what about the cranberry red loveseat? Well, I got out the second drop cloth and made a very simple slipcover. This was my first try at a project like this so give me a break.


I linked up to:


Thanks for stopping by!

Honey, I Dyed the Draperies!

Hi!

I'm decorating our master bedroom. I've been trying to keep the cost ultra low and use as many items as I already have. I wanted to change out the white quilted drapes but couldn't find anything I liked in the price range I had set. So, I decided why not just dye the existing drapes? Since they were white they had some areas that had yellowed and I've had them for ages. So, I felt I could justify a dye job. Not as easy as it sounds. Did you know that draperies are very heavy when wet? And that they are extremely difficult to wring out? I hadn't thought of these important issues. Good thing my husband is the type who, when seeing me working on any type of project is always on the lookout for some type error I may be in the process of making and hands out loads of free advice on the better method of accomplishing the goal at hand. Usually I am frustrated by this behavior but this time it was a blessing! He took over the project and they came out pretty well. They went from boring white to this:


This took quite a bit of time as even with an 18 gallon wash tub we felt that we could only do one panel at a time in order for the panel to move freely in the water so that the dye would come out evenly. And when you dye them separately it makes it MUCH harder to have a uniform outcome. And it did take two hours of his time to complete. It's just a good thing I started this project after the Twins game was over.

Now for the cost breakdown: dye $12; canvas I already had (from a drop cloth) $0; new trim $11. So, the total makeover on these drapes came to about $23. I think that's pretty thrifty. And they could now be considered "custom draperies" :) You'll see the whole panel when I reveal the bedroom makeover .... someday.

I linked this to:

sweetcharli"

Thanks for stopping by!

Saturday, April 10, 2010

Our name in .... canvas?

Hi!

My sister saw this bird print at a thrift store and picked it up for me.


Unfortunately, the glass broke in transit but maybe that's a good thing because one of the birds in the print had a scary face - yikes!


So, out came the black paint. Then, I cut a piece of canvas to size, printed a sign and ironed it onto the canvas. Ta da!


This will be used in our master bedroom makeover.

Thanks for stopping by!

Canvas Chrysanthemum

Hi!

I have been trying to make projects with supplies I already have. I have had a 10 X 10 canvas laying around for a long time. It had a dog bone idea started on it and since I was disappointed in how looked I didn't finish it. (A dog bone idea? you ask. Yes, I know it was crazy, that's why I quit)

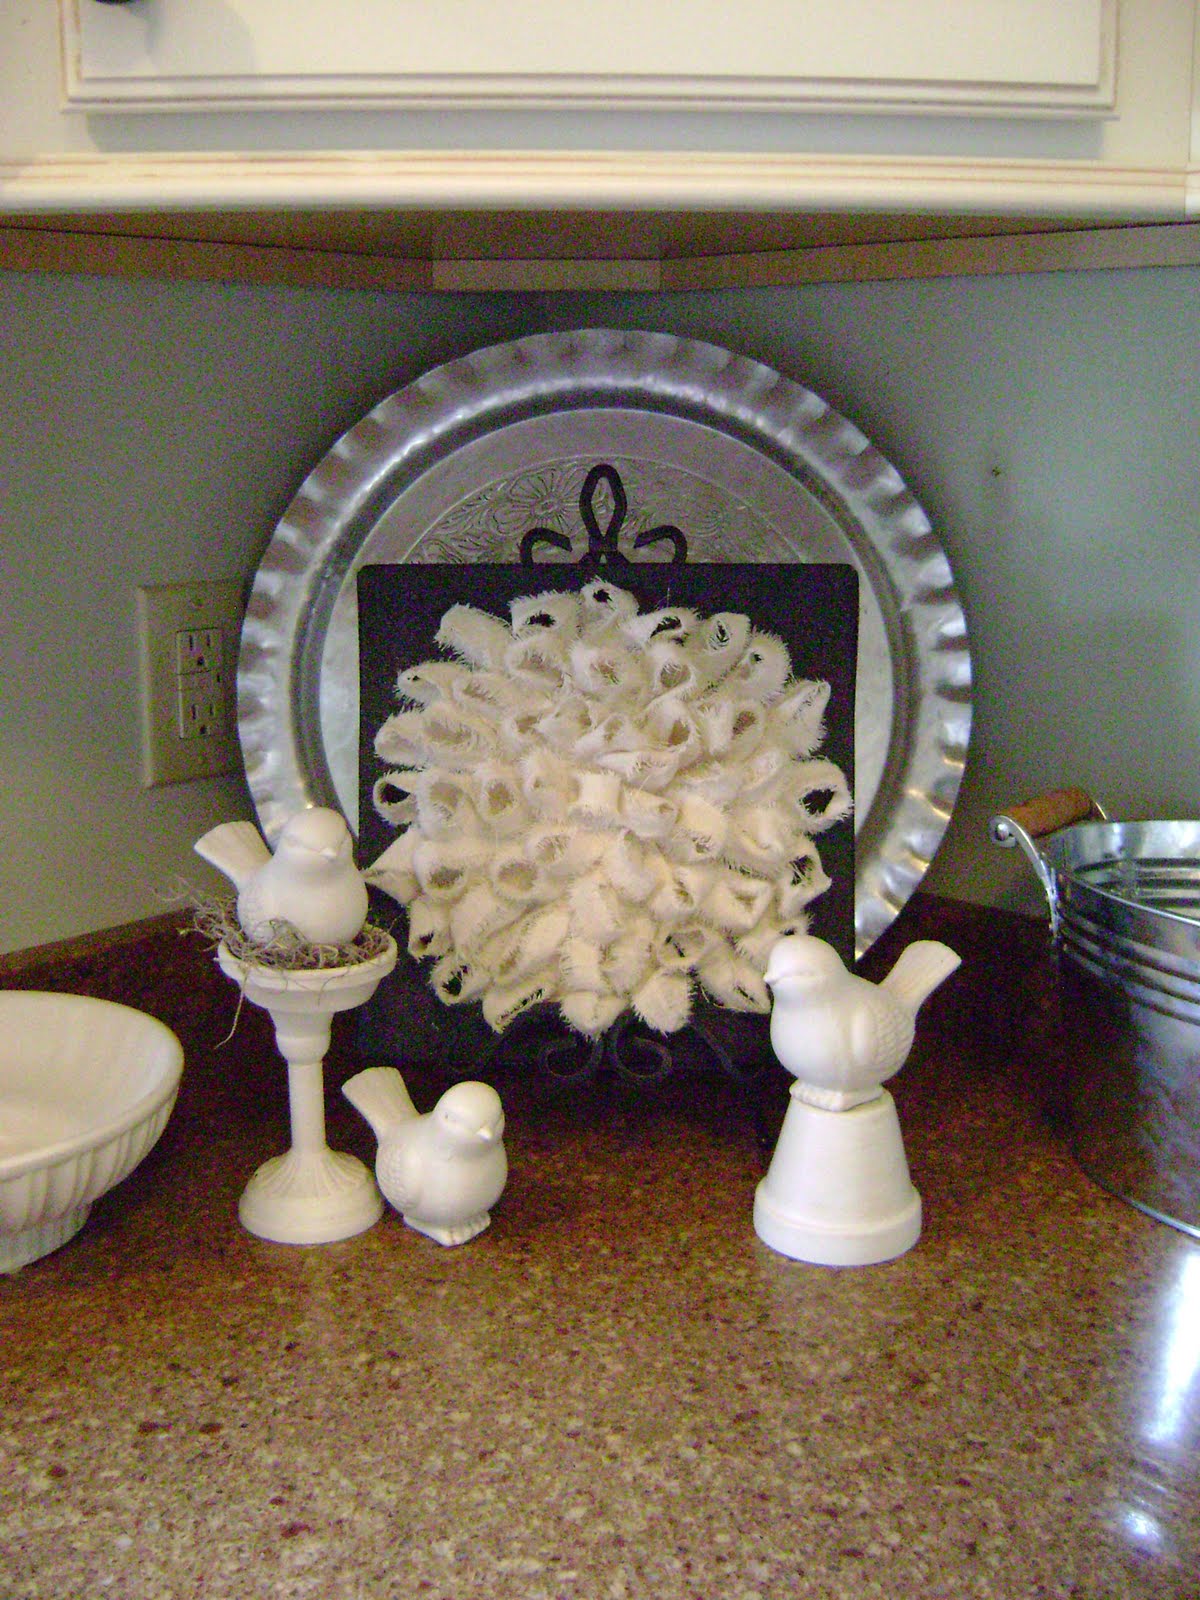
What to make, what to make? I took the canvas and stapled on some black denim. Then I hot-glued some ribbon around the edge. Then I went to town adding loops of canvas strips until I ended up with this canvas chrysanthemum:


I got the idea for this from the V & Co. tutorial on no-sew fabric wreaths. I simply changed it up to lay the loops down parallel to each other. Once I got to the center, I just made the strip into a circle instead of a loop.

This could be made with any type of fabric in any color. And of course, it would look more upscale if you didn't use frayed fabric :) but that's the look I was going for. This is meant for our master bedroom that will have a black and cream scheme for the summer.

Is it just me or does this look like a blooming onion?


I'm linking this up to:


Thanks for stopping by!