Hi!
I got two of these lanterns for a beachy grad party a few years ago. Ever since the party they have been taking up space in the closet. I had them ready for Goodwill, but then decided to try a makeover.
Before:
After:
I just took out the glass, used some ORB and toasted almond paint to cover up the aluminum finish, some twine to cover up the Asian aspect at the top and a round base for more presence.
They went from wacky, tacky party decor to charming home decor. Now, they're taking up space on display in my living room.
Thanks for stopping by!
Showing posts with label makeovers. Show all posts
Thursday, February 10, 2011
Sunday, January 30, 2011
Necklace Case
Hi!
I have really been getting into costume jewelry these days. And I've been struggling to keep all of my necklaces from getting tangled. I was thinking of buying a jewelry organizer, but then I saw this in Goodwill. It was only $2.99.
The interior has mirrors on the three sides - which kinda reminds me of that mirror they use on "What Not to Wear." Good thing it's only my jewelry going in here and not my big butt! It also has some etched flowers on the glass that I'm not so fond of. And the legs were gone. And the pulls were gone. But not to worry.
I took it home with me and yada, yada, yada, this is what it looks like now. New paint, feet, twine tassels, tuxedo pleats, etc. It looks pink online but the fabric is just muslin.
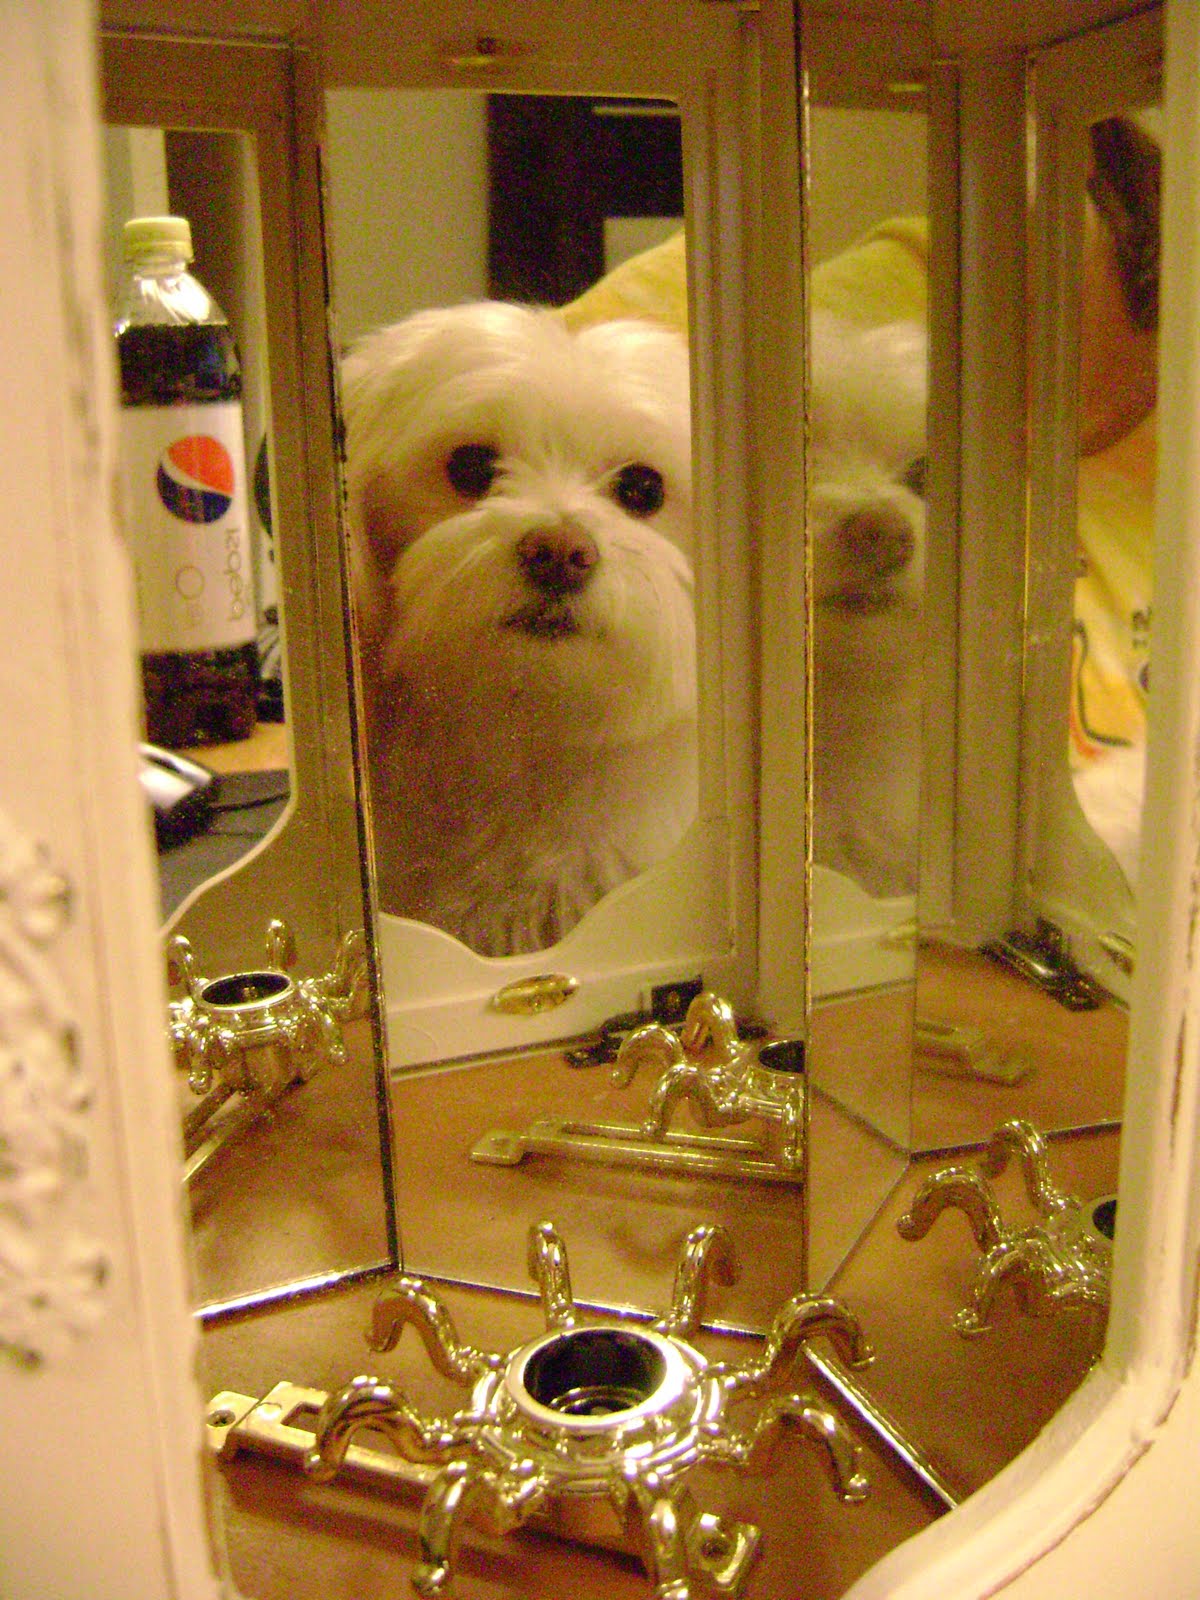
I thought this was silly. This was sitting (upside down) on the desk next to the computer. Bubba likes to sit in my lap while I'm online. He was very startled by the mirrors inside the case.
Thanks for stopping by!
I'm linking up to:


I have really been getting into costume jewelry these days. And I've been struggling to keep all of my necklaces from getting tangled. I was thinking of buying a jewelry organizer, but then I saw this in Goodwill. It was only $2.99.
The interior has mirrors on the three sides - which kinda reminds me of that mirror they use on "What Not to Wear." Good thing it's only my jewelry going in here and not my big butt! It also has some etched flowers on the glass that I'm not so fond of. And the legs were gone. And the pulls were gone. But not to worry.
I took it home with me and yada, yada, yada, this is what it looks like now. New paint, feet, twine tassels, tuxedo pleats, etc. It looks pink online but the fabric is just muslin.
I thought this was silly. This was sitting (upside down) on the desk next to the computer. Bubba likes to sit in my lap while I'm online. He was very startled by the mirrors inside the case.
Thanks for stopping by!
I'm linking up to:
Wednesday, January 26, 2011
Totebag Makeover
Hi!
Have you ever gotten a promotional tote bag? While it's a nice gesture and it's nice to support a local business, after a while you're just over it and you don't want to be a walking billboard.
I've had two of these bags hanging around for a long time. I decided to just make them over with a little fabric so I could use them again.
The first is from the University of Minnesota Duluth Library (Go Bulldogs!) UMD is my alma mater and I worked there for years. But I think it's about time to let go.
So, I just added some decorative fabric, a small pocket and a frayed flower.
The second bag was from a local bookstore. This time I added coordinating fabrics in stripes and a flower pin I made.
Voila! Two new tote bags :)
I'm linking up to


Thanks for stopping by!
Have you ever gotten a promotional tote bag? While it's a nice gesture and it's nice to support a local business, after a while you're just over it and you don't want to be a walking billboard.
I've had two of these bags hanging around for a long time. I decided to just make them over with a little fabric so I could use them again.
The first is from the University of Minnesota Duluth Library (Go Bulldogs!) UMD is my alma mater and I worked there for years. But I think it's about time to let go.
So, I just added some decorative fabric, a small pocket and a frayed flower.
The second bag was from a local bookstore. This time I added coordinating fabrics in stripes and a flower pin I made.
Voila! Two new tote bags :)
I'm linking up to

Thanks for stopping by!
Wednesday, April 28, 2010
Honey, I Dyed the Draperies!
Hi!
I'm decorating our master bedroom. I've been trying to keep the cost ultra low and use as many items as I already have. I wanted to change out the white quilted drapes but couldn't find anything I liked in the price range I had set. So, I decided why not just dye the existing drapes? Since they were white they had some areas that had yellowed and I've had them for ages. So, I felt I could justify a dye job. Not as easy as it sounds. Did you know that draperies are very heavy when wet? And that they are extremely difficult to wring out? I hadn't thought of these important issues. Good thing my husband is the type who, when seeing me working on any type of project is always on the lookout for some type error I may be in the process of making and hands out loads of free advice on the better method of accomplishing the goal at hand. Usually I am frustrated by this behavior but this time it was a blessing! He took over the project and they came out pretty well. They went from boring white to this:

This took quite a bit of time as even with an 18 gallon wash tub we felt that we could only do one panel at a time in order for the panel to move freely in the water so that the dye would come out evenly. And when you dye them separately it makes it MUCH harder to have a uniform outcome. And it did take two hours of his time to complete. It's just a good thing I started this project after the Twins game was over.
Now for the cost breakdown: dye $12; canvas I already had (from a drop cloth) $0; new trim $11. So, the total makeover on these drapes came to about $23. I think that's pretty thrifty. And they could now be considered "custom draperies" :) You'll see the whole panel when I reveal the bedroom makeover .... someday.
I linked this to:
"
Thanks for stopping by!
I'm decorating our master bedroom. I've been trying to keep the cost ultra low and use as many items as I already have. I wanted to change out the white quilted drapes but couldn't find anything I liked in the price range I had set. So, I decided why not just dye the existing drapes? Since they were white they had some areas that had yellowed and I've had them for ages. So, I felt I could justify a dye job. Not as easy as it sounds. Did you know that draperies are very heavy when wet? And that they are extremely difficult to wring out? I hadn't thought of these important issues. Good thing my husband is the type who, when seeing me working on any type of project is always on the lookout for some type error I may be in the process of making and hands out loads of free advice on the better method of accomplishing the goal at hand. Usually I am frustrated by this behavior but this time it was a blessing! He took over the project and they came out pretty well. They went from boring white to this:
This took quite a bit of time as even with an 18 gallon wash tub we felt that we could only do one panel at a time in order for the panel to move freely in the water so that the dye would come out evenly. And when you dye them separately it makes it MUCH harder to have a uniform outcome. And it did take two hours of his time to complete. It's just a good thing I started this project after the Twins game was over.
Now for the cost breakdown: dye $12; canvas I already had (from a drop cloth) $0; new trim $11. So, the total makeover on these drapes came to about $23. I think that's pretty thrifty. And they could now be considered "custom draperies" :) You'll see the whole panel when I reveal the bedroom makeover .... someday.
I linked this to:
Thanks for stopping by!
Subscribe to:
Posts (Atom)